Component Updater
Keep your infrastructure repositories current with the latest versions of vendored components using the Atmos Component Updater GitHub Action. This powerful action simplifies and accelerates the management of component updates across repositories by using pull requests, ensuring that updates are processed quickly, accurately, and without hassle.
Use Cloud Posse's GitHub Action for updating Atmos components (e.g. like the ones provided by Cloud Posse) to streamline your infrastructure management.
With its customizable features, you can design an automated workflow tailored to your needs, making infrastructure repository maintenance more efficient and less error-prone.
Key Features:
- Selective Component Processing: Configure the action to
excludeorincludespecific components using wildcards, ensuring that only relevant updates are processed. - PR Management: Limit the number of PRs opened at a time, making it easier to manage large-scale updates without overwhelming the system. Automatically close old component-update PRs, so they don't pile up.
- Material Changes Focus: Automatically open pull requests only for components with significant changes, skipping minor updates to
component.yamlfiles to reduce unnecessary PRs and maintain a streamlined system. - Informative PRs: Link PRs to release notes for new components, providing easy access to relevant information, and use consistent naming for easy tracking.
- Scheduled Updates: Run the action on a cron schedule tailored to your organization's needs, ensuring regular and efficient updates.
Discover more details and a comprehensive list of inputs and outputs in the GitHub Action repository on GitHub.
Usage Examples
Workflow example
Requirements
This action will automatically open pull requests for updated components in your repository. To use it, we recommend installing a GitHub App to allow GitHub Actions to create pull requests within your GitHub Organization.
Create and install a GitHub App
Follow the Using a GitHub App steps below.
Grant GitHub Actions workflows read and write permission
If you're using GitHub Enterprise, first update this setting under "enterprises". The setting for the Organization will not be available until it's allowed for the Enterprise.
https://github.com/enterprises/YOUR_ORG/settings/actions
In either case, then enable the setting for your "organization":
https://github.com/organizations/YOUR_ORG/settings/actions
- Find the section called "Workflow permissions"
- Select "Read and write permissions"
Allow GitHub Actions to create and approve pull requests
Again, if you're using GitHub Enterprise first update this setting under "enterprises":
https://github.com/enterprises/YOUR_ORG/settings/actions
In either case, then enable the setting for your "organization":
https://github.com/organizations/YOUR_ORG/settings/actions
- Check "Allow GitHub Actions to create and approve pull requests"
Enabling these action settings at an Organization level will enable the same settings for all repositories in your Organization. Confirm the same settings have been enabled for your infrastructure repository and optionally disable these settings for other repositories in your Organization at your own discretion.
Using a GitHub App
You may notice that we pass a generated token from a GitHub App to github-access-token instead of using the native GITHUB_TOKEN. We do this because Pull Requests will only trigger other GitHub Action Workflows if the Pull Request is created by a GitHub App or PAT. For reference, see Triggering a workflow from a workflow.
- Create a new GitHub App
- Name this new app whatever you prefer. For example,
Atmos Component Updater [<YOUR NAMESPACE>].
GitHub requires all GitHub Apps to have globally unique names. The name you select for this GitHub App can be whatever you'd prefer, so long as it's not already in use. For example, an acme organization might name their GitHub App Atmos Component Updater [ACME].
- List a Homepage URL of your choosing. This is required by GitHub, but you can use any URL. For example use our documentation page:
https://atmos.tools/integrations/github-actions/component-updater/ - (Optional) Add an icon for your new app (See below)
Feel free to download and use our Atmos icon with your GitHub App!

- Assign only the following Repository permissions:
+ Contents: Read and write
+ Pull Requests: Read and write
+ Metadata: Read-only
- Generate a new private key following the GitHub documentation.
The private key token should start and end with -----BEGIN RSA PRIVATE KEY----- and -----END RSA PRIVATE KEY----- respectively, and include everything in between.
When you click "Generate Private Key", a .pem file is automatically downloaded. This file's content is the token value.
- Finally, save both the App ID and the new private key as secrets for GitHub Actions with
ATMOS_APP_IDandATMOS_PRIVATE_KEYrespectively. Note, if using GitHub Enterprise, we recommend using "GitHub Environments" to scope the Secrets to protected branches. If that's not available, use repository-scoped GitHub Secrets instead.
The App ID is shown under GitHub App settings under General > About > App ID. The App ID is not the same as the Installation ID that is given in the URL when you install the App.
https://github.com/settings/apps/<YOUR APP NAME>
Using GitHub Environments
We recommend creating a new GitHub environment for Atmos (requires GitHub Enterprise). With environments, the Atmos Component Updater workflow will be required to follow any branch protection rules before running or accessing the environment's secrets. Plus, GitHub natively organizes these Deployments separately in the GitHub UI. To configure your environment, perform the following:
- Open "Settings" for your repository
- Navigate to "Environments"
- Select "New environment"
- Name the new environment, "
atmos" - In the drop-down next to "Deployment branches and tags", select "Protected branches only"
- In "Environment secrets", create the two required secrets for App ID (
ATMOS_APP_ID) and App Private Key (ATMOS_PRIVATE_KEY) from Using a GitHub App step.
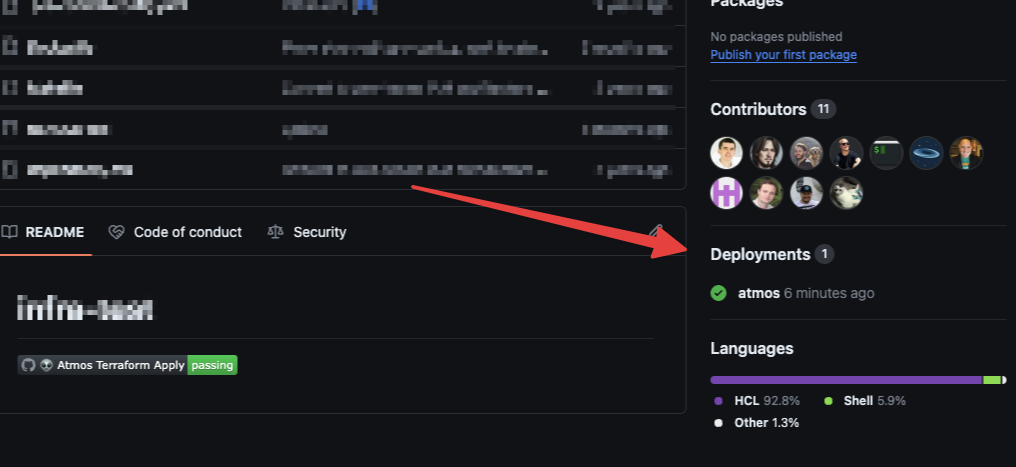
Now the Atmos Component Updater workflow will create a new Deployment in the atmos environment for each workflow run, easily accessible from the GitHub UI.
Using a Custom Atmos CLI Config Path (atmos.yaml)
If your atmos.yaml file is not located in the root of the infrastructure repository, you can specify the path to it using ATMOS_CLI_CONFIG_PATH env variable.
Customize Pull Request labels, title and body
The backtick symbols must be escaped in the GitHub Action parameters. This is because GitHub evaluates whatever is in the backticks and it will render as an empty string.
For title template these placeholders are available:
component_namesource_nameold_versionnew_version
For body template these placeholders are available:
component_namesource_namesource_linkold_versionnew_versionold_version_linknew_version_linkold_component_release_linknew_component_release_link

